Enterprise App Submission
This is an exciting place to be! You are ready to deploy your app!
**NOTE** This page assumes you already have the necessary iOS and Google accounts, and that you have set up your global account assets in the MobileSmith platform. If you have not, click here for instructions.
Here are some things you'll need to do:
- Create your Developer Accounts and plug the credentials needed into the MobileSmith Platform
- Prepare your private store assets and landing page
- Gather your Icon images (all sizes)
- Take screenshots of your app for your private store (optional)
Application Level
For each application created in the MobileSmith platform, there are unique assets which are required. If you’re creating an iPad version of your app, you’ll need to produce assets for both your phone and iPad version.
Apple
To start the process for application level assets, follow steps 1 – 4 from the previous section to log into the iOS Dev Center and navigate to the iOS Apps dashboard. You will now want to create the App ID, Push Distribution Certificate and the Provisioning Profile.
App ID
1. In the left nav bar under Identifiers, click App IDs and then the ‘+’ in the right panel to create a new App ID. Remember if you have an iPad version of your app, you’ll need to create a separate App ID for that version.
2. On the next page you will need to enter the following information:
a. App ID Description: App Name
b. App Services: Select the checkbox next to Push Notifications
c. App ID Suffix: Leave the default Explicit App ID radio button selected and enter a Bundle ID using the recommended style -> com.domainname.appname

3. Click Continue and then confirm your App ID on the next page. Ensure there is a green radio button next to Push Notifications to show it is enabled. Following confirmation, click Submit.
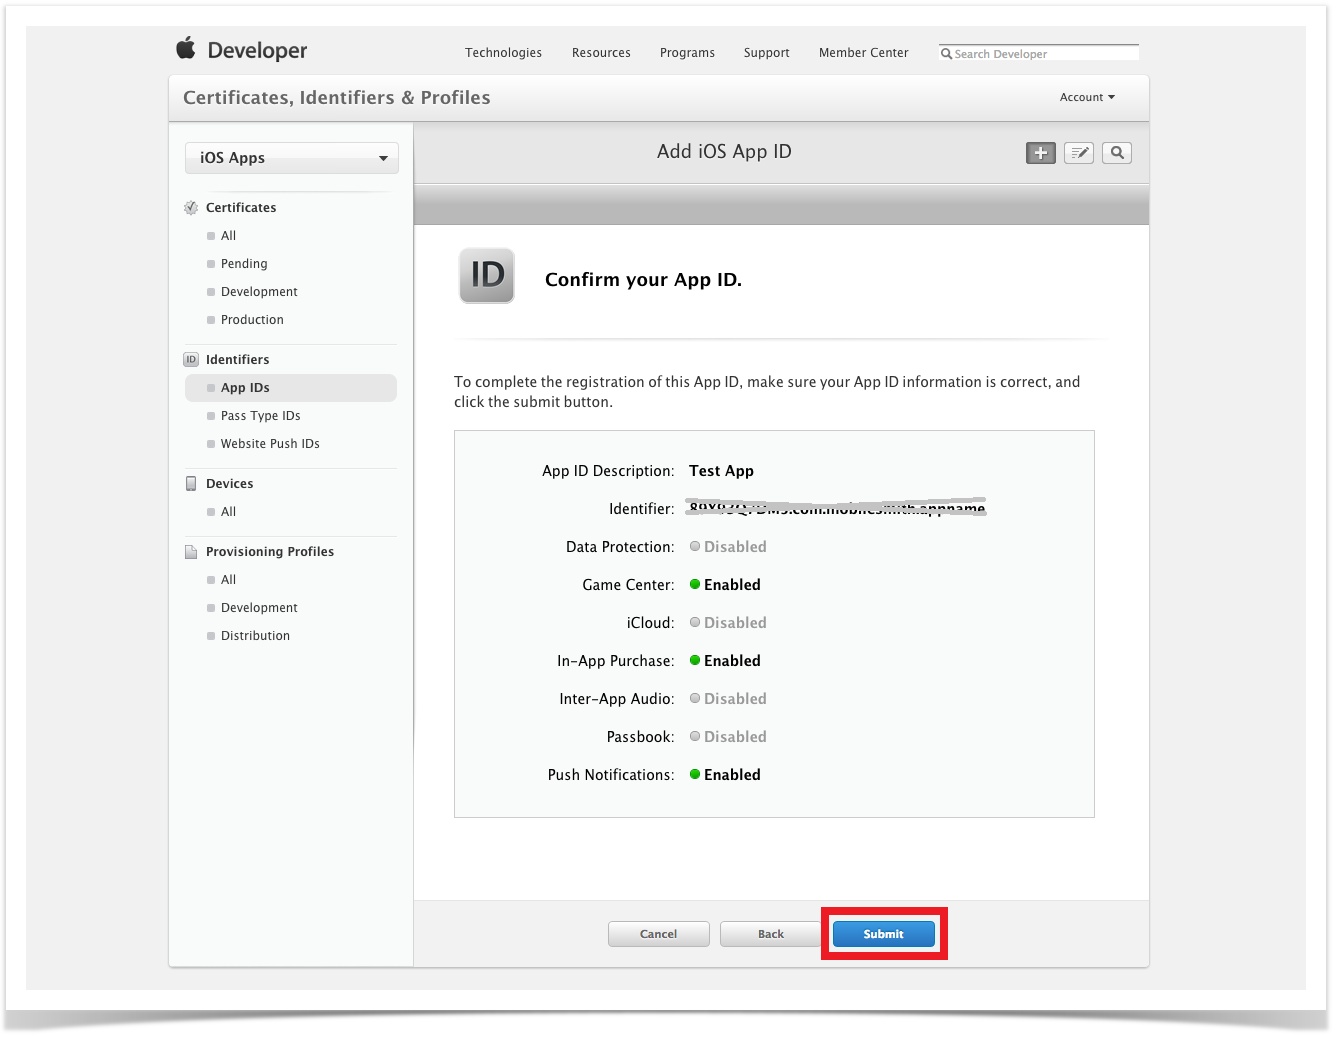
4. When registration of the App ID is complete click Done and you will now see your App ID listed in the right panel.
Sweet! Your App ID is official.
Push Notification Certificate
In order for the Push Notifications to work correctly you will need to create a push certificate for your App. It will be tied to the App ID you just created as well as the Global Distribution Certificate you created in the Global Account Level section. Remember if you have an iPad version of your app, you’ll need to create a separate Push Certificate for that version.
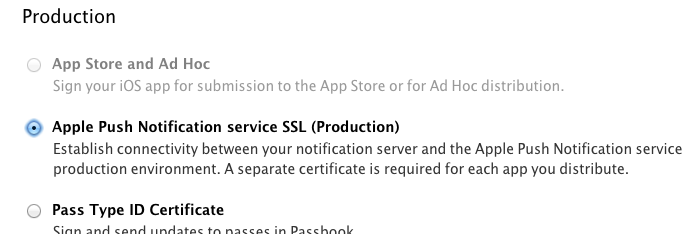
1. In the left nav bar under Certificates, select Production and then the ‘+’ in the right panel.
2. Scroll down to the Distribution section and select the radio button for ‘Apple Push Notification Service SSL (Production)’ and then click Continue.
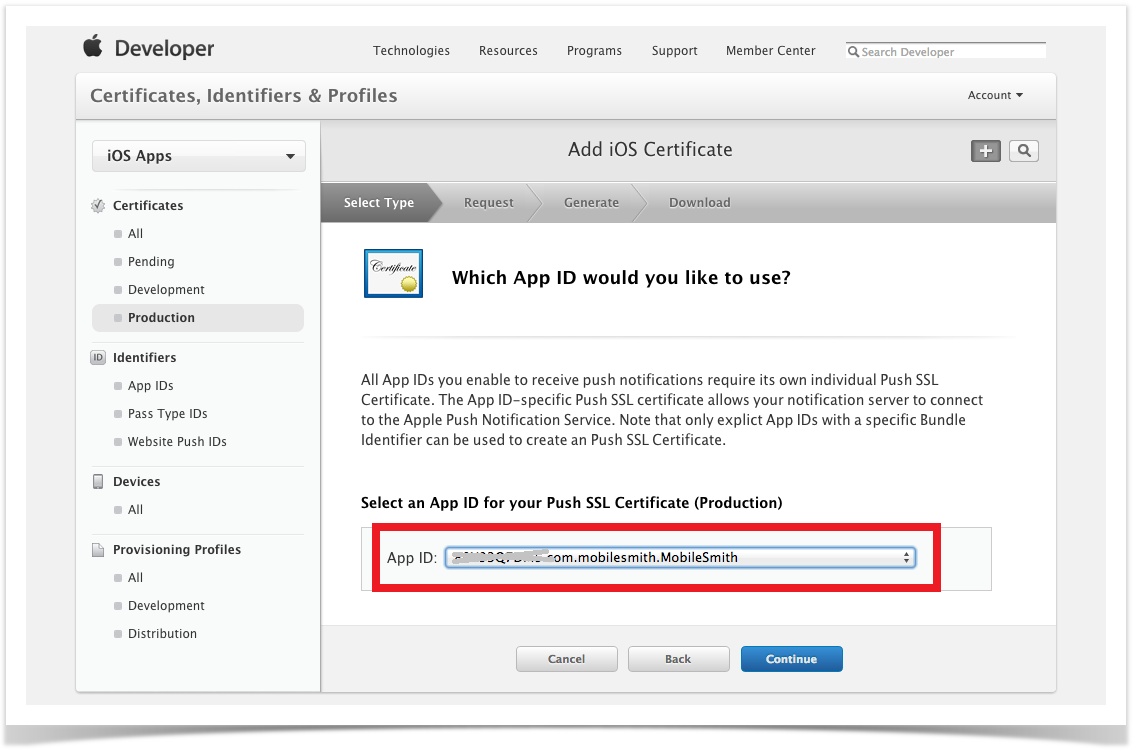
3. Select your App ID from the drop down and then click Continue.
4. The next page asks for you to upload your CSR, which you learned how to create earlier in this document. Upload your CSR and then click continue to move to the next step.
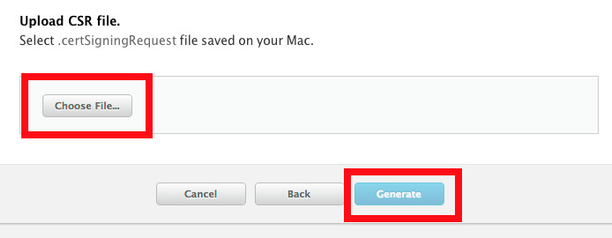
5. After you upload your CSR click the Generate button.
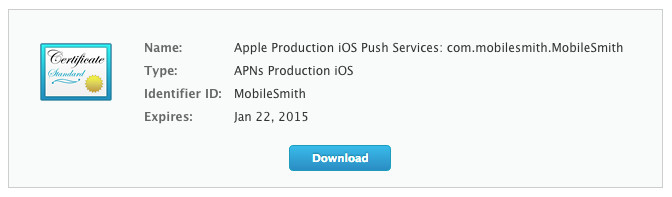
6. When the push certificate has been created, click Done and you will now see your push certification in the right panel. Click the push certification row and select ‘Download’.
7. Navigate to this file in your Downloads folder and double click it so it will be added to your local keychain.
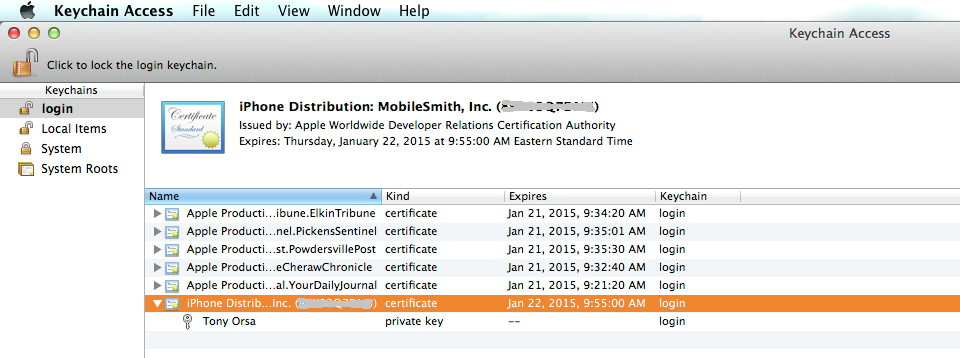
a. To validate this was done correctly open your Keychain Application and in the left page make sure ‘login’ is the selected Keychain and ‘Certificates’ is the selected Category. Your created certificate should say ‘Apple Production IOS Push Services: <bundle ID> and have an expandable carat arrow which will show your private key when expanded. It should look like the image below:
8. This certificate needs to be uploaded into the MobileSmith platform for your app. Therefore, you will need to export the certificate into a .p12 file using the following instructions.
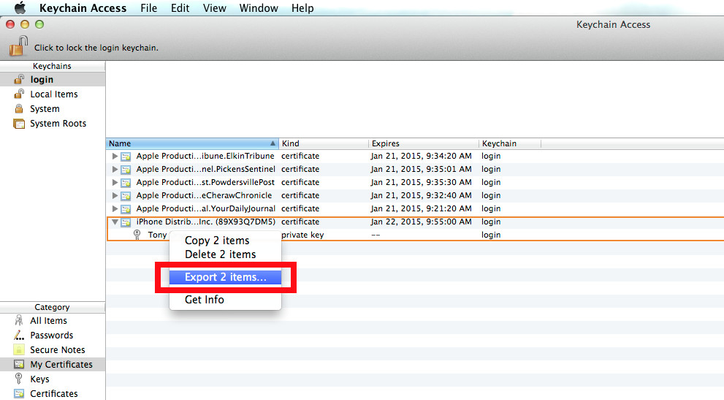
a. In the Keychain Application, expand the carat so the private key portion is showing. Highlight both the certificate and the private key, right click and then select ‘Export 2 items…’
b. You will now be asked to save this file to your computer. The filename SHOULD NOT contain any spaces and ensure the file extension is .p12 (which is the default).
c. Finally after you click save you will be asked twice to supply a password to add security to your certificate. Take note of this password as it will be needed in the MobileSmith platform.
Great! Your Push Certificate is active.
Provisioning Profile
The final step for Apple is to create the provisioning profile for your application. Remember if you have an iPad version of your app, you’ll need to create a separate Provisioning Profile for that version.
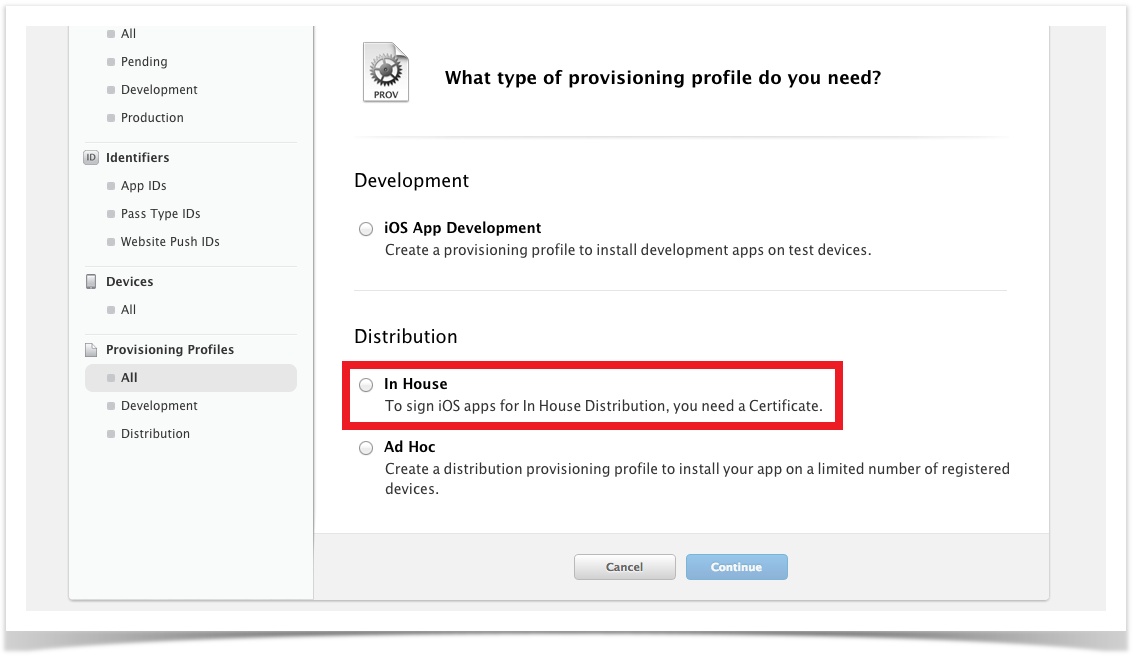
1. To create a new provisioning profile, select ‘Distribution’ under the Provisioning Profiles section in the left nav bar. Then click the ‘+’ in the right panel to start the process.
2. In the Distribution section on the page, you will have different options depending on whether you are creating the profile for the Apple App Store or for internal distribution:
a. For the Apple App Store (iOS Developer Enterprise Program Account) select the radio button next to ‘In House’ and then click Continue.
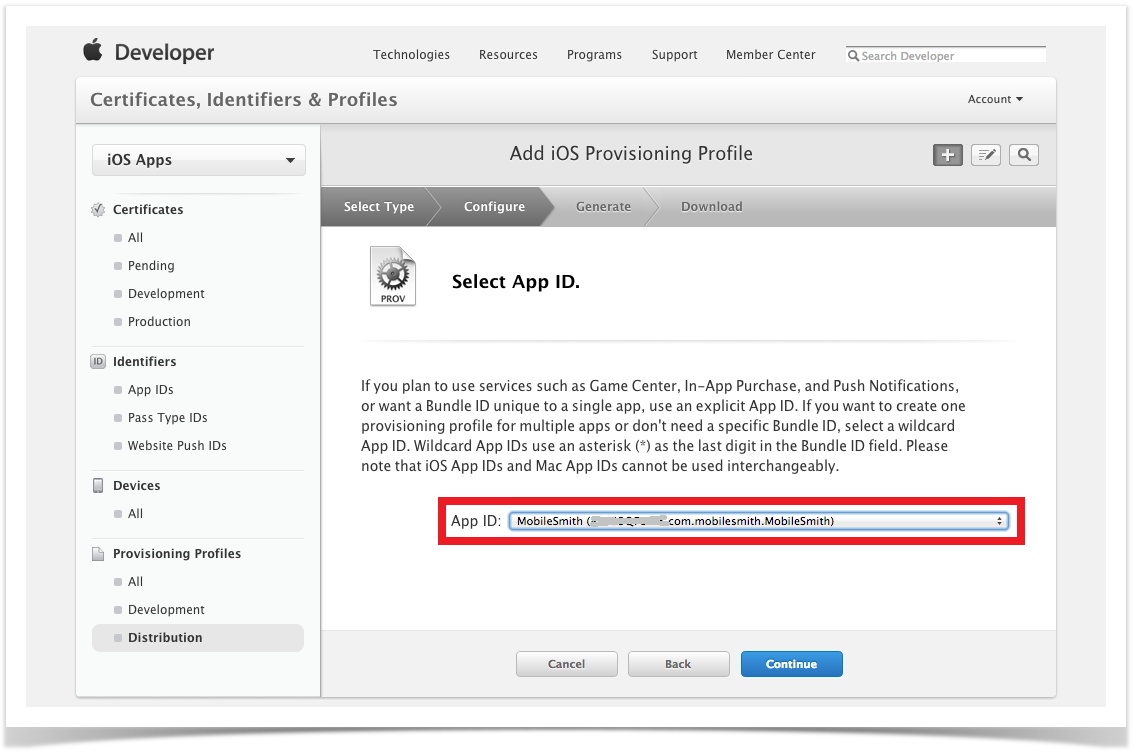
3. The next page displays your App ID for reference. Check to make sure it’s correct and then click Continue.
4. On the next page select the radio button next to your Global Distribution Certificate and then click Continue.

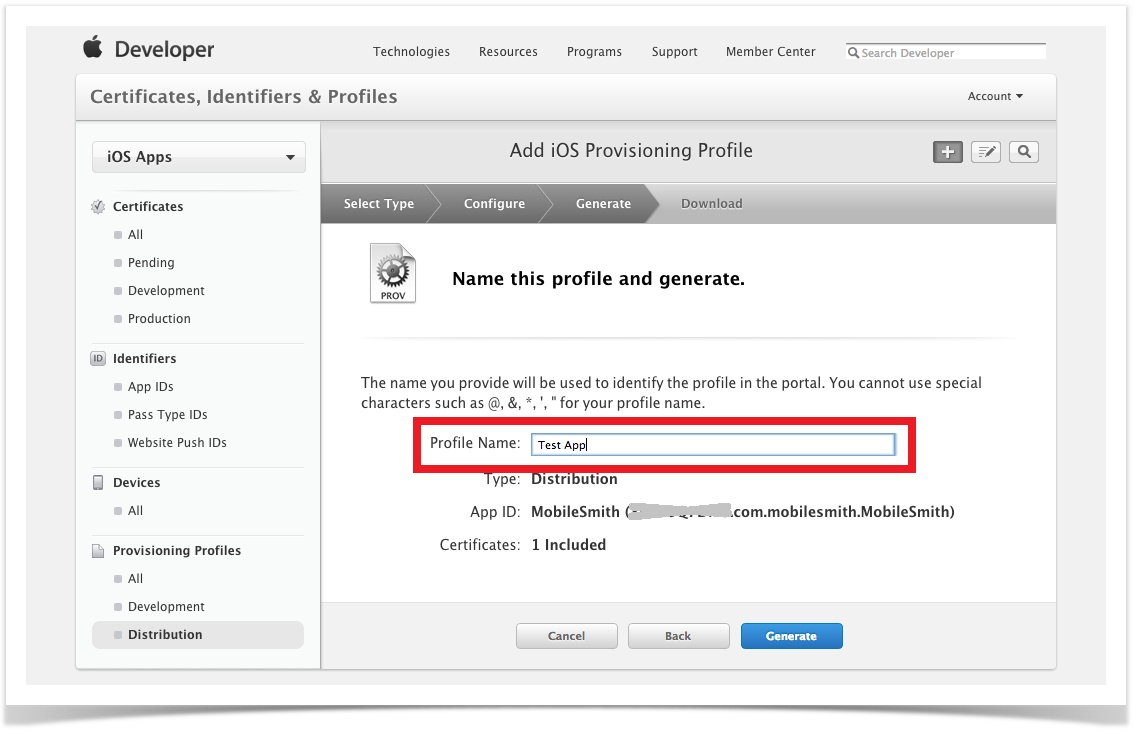
5. On the next screen enter a Profile Name, which is usually the App Name, and click Generate.
6. Download the Provisioning Profile when it is ready. It will have the following format: <ProfileName>.mobileprovision. Click Done and you will now see the Provisioning Profile in the right panel.
Super! Your Provisioning Profile is done.
The only assets needed for Google at the app level are those associated with the Push Notification. The following steps describe how to set your app up in the Google Cloud Messaging system. These directions were taken from: http://developer.android.com/guide/google/gcm/gs.html
API Project
**Note** Log into your Google Account first, then navigate to the Google API Console.
1. Navigate to the Google API Console page https://code.google.com/apis/console
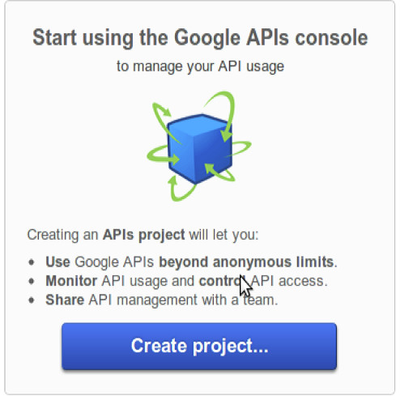
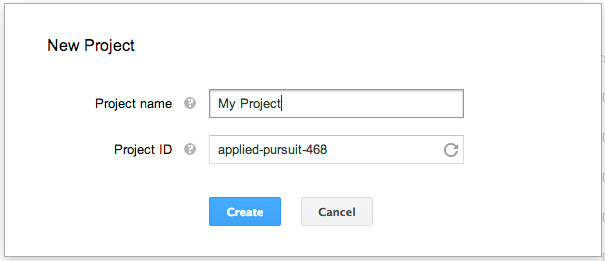
2. If you haven’t created an API project yet, this page will prompt you to do so:
**Note** If you already have existing projects, the first page you see will be the Dashboard page. From there you can create a new project by opening the project drop-down menu (upper left corner) and choosing Other projects -> Create.
3. Click Create project. Your browser URL will change to something like:
a. https://code.google.com/apis/console/#project: 4815162342
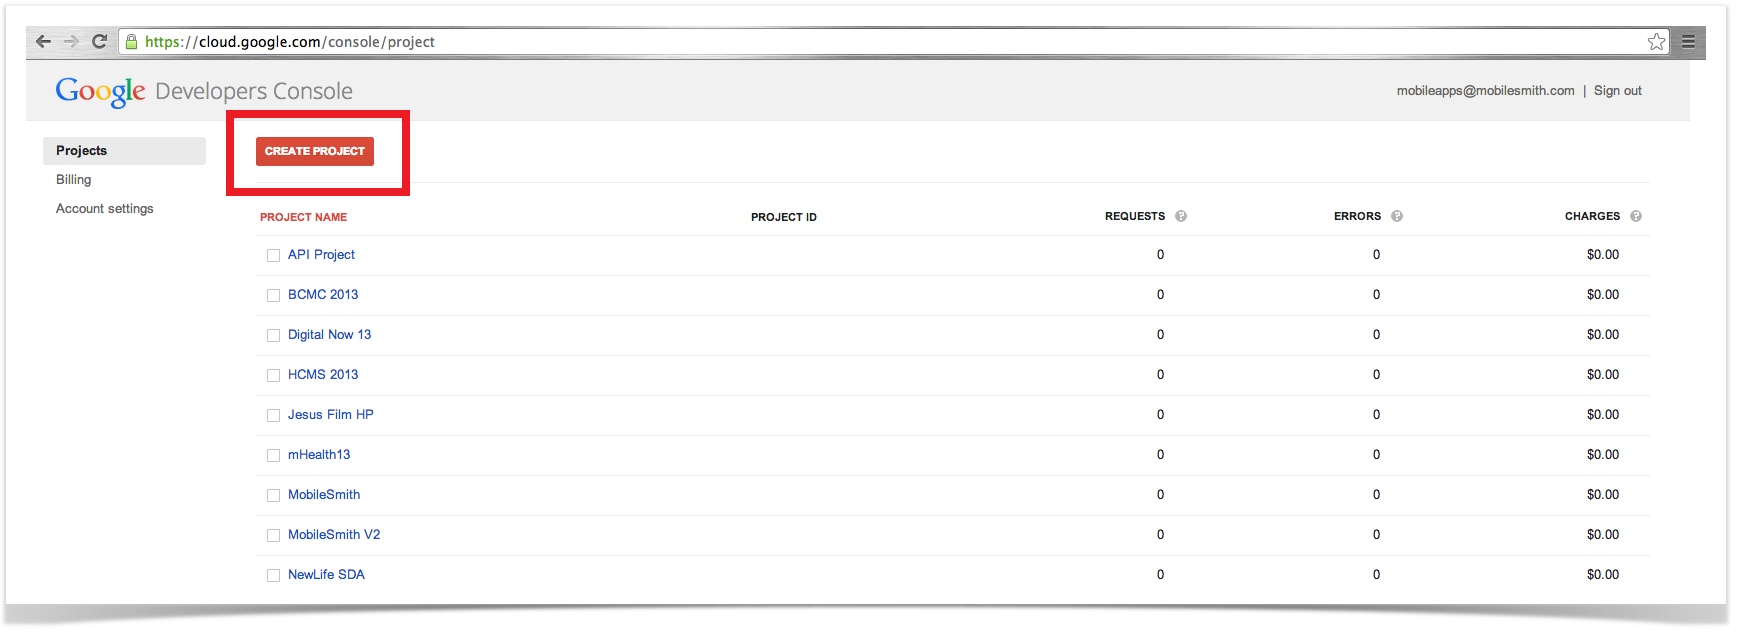
4. Take note of the value after #project: (4815162342 in this example). This is your project number and it will be used later on in the MobileSmith platform as the GCM sender ID.
Enable GCM Service
1. In the main Google APIs Console page, select Services from the left nav bar.
2. Scroll down to Google Cloud Messaging for Android and toggle to ON.

Obtaining an API Key
1. In the main Google APIs Console page, select Credentials from the left nav bar. You will see a screen that resembles the following:
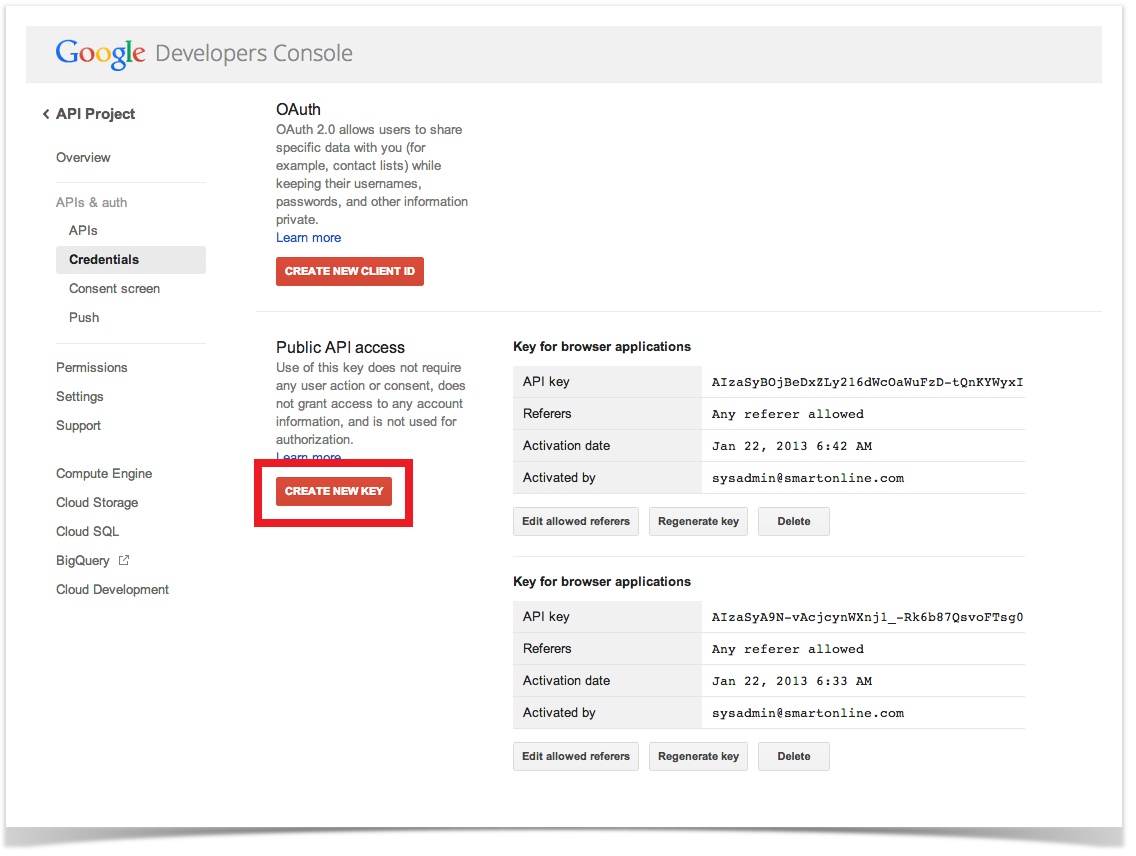
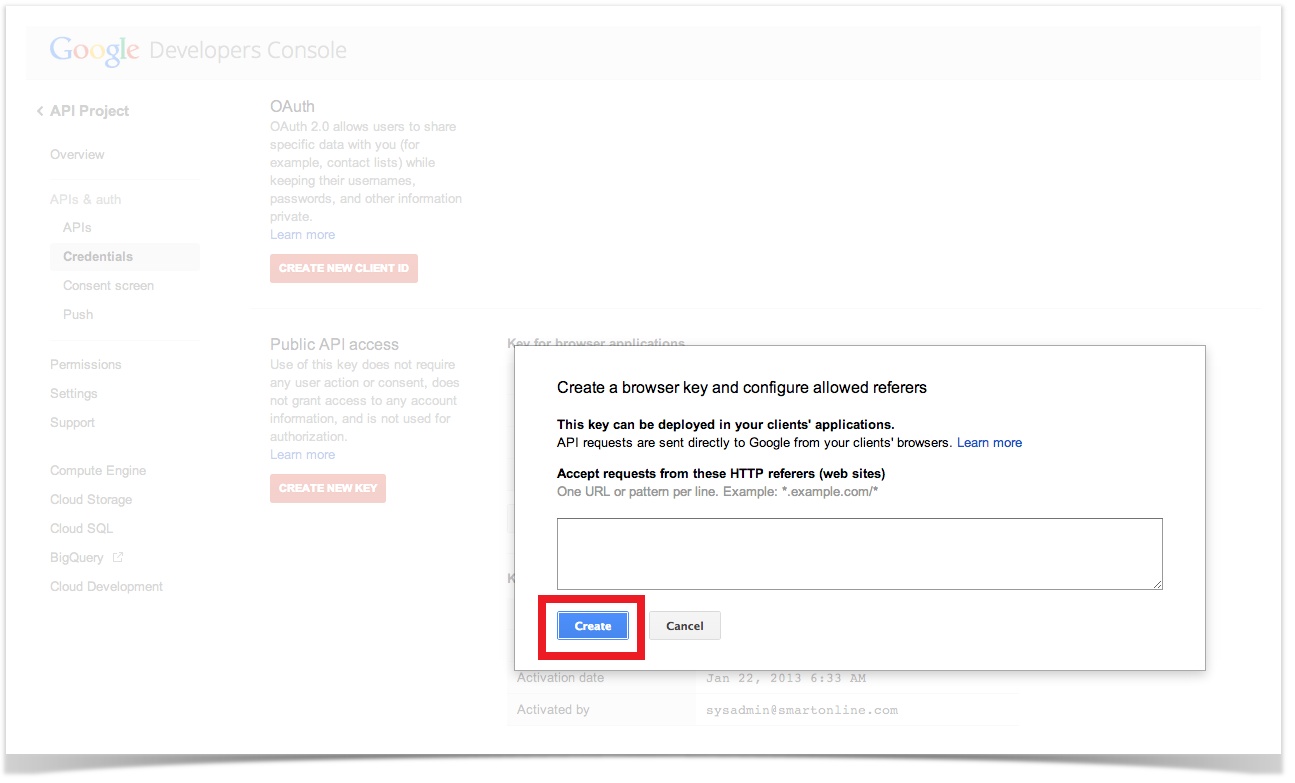
2. Click the "Create New Key" button. In the pop up window, click the "Browser key" button, then click the "Create" button.
3. You will then be presented with the following information. Take note of the API Key value (blacked out in this example) as it will be needed in the MobileSmith platform as the GCM API Key.
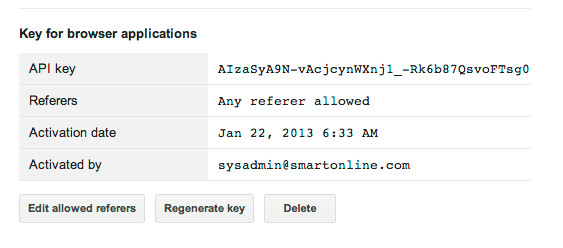
Yippee! Your Android API Key has been created.
MobileSmith Platform
The following information needs to be provided for each application in the MobileSmith platform.
App Stores -> Push Credentials
For Apple:
- Push Certificate: The .p12 push certificate exported from your keychain
- Push Certificate Password: The password used when creating the .p12 push certificate file
- Distribution Cert?: Place a check in this box if this is a distribution certificate (as opposed to a development certificate)
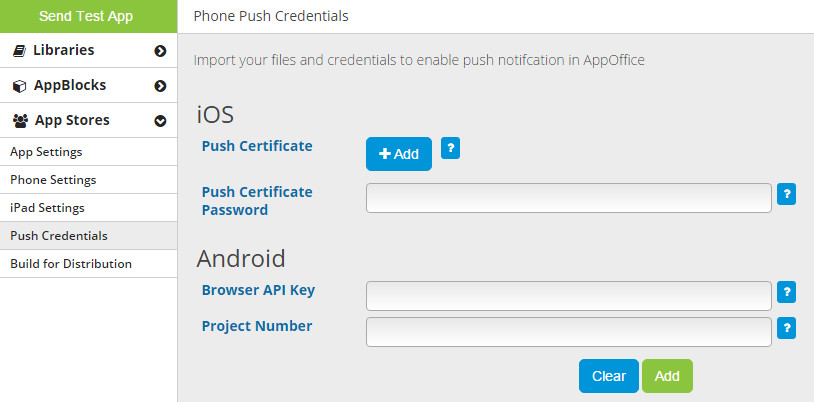
For Google:
- GCM API Key: The API Key created in the Google APIs Console
- GCM Sender ID: The Project number from the Google APIs Console
**Note** If you haven’t already, this is where you will upload your Phone App Icon Images.
![]()
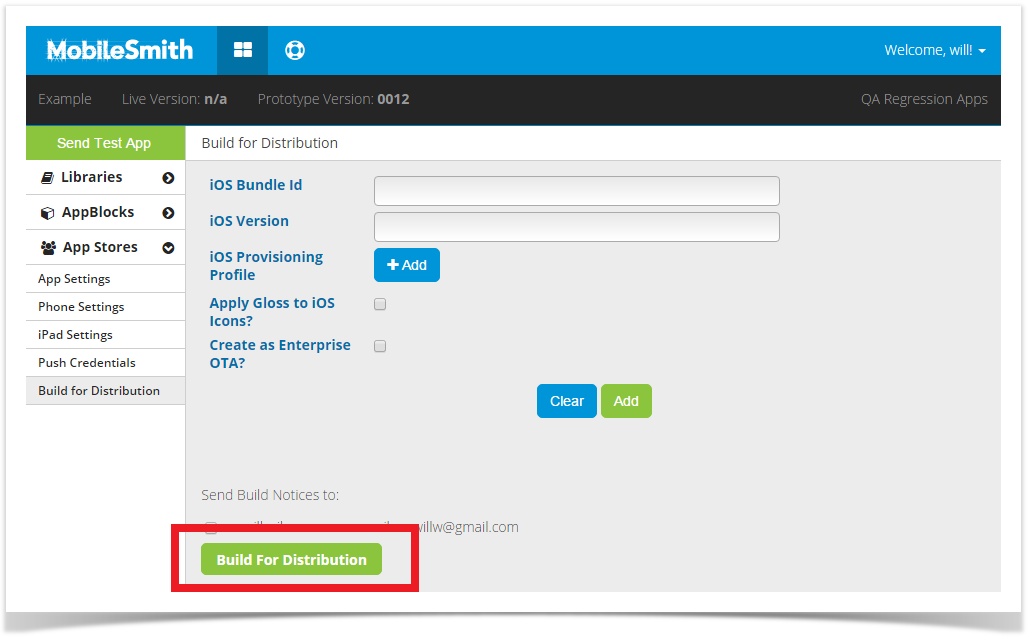
App Stores -> Build for Distribution
Enter the following information on the Build For Distribution and click the green "Add" button.
- Apple Bundle ID: The bundle ID created during the App ID step in the iOS Dev Center
- iOS Version: This number should always match the version you enter in your iTunes Connect account.
- Provisioning Profile: The .mobileprovision file created in the iOS Dev Center
- Apply Gloss?: Check this box if you want the gloss effect added to your app icon
- Enterprise OTA: Check this to create the link for your Private Store
Yay! You're a few steps closer to having your live app.
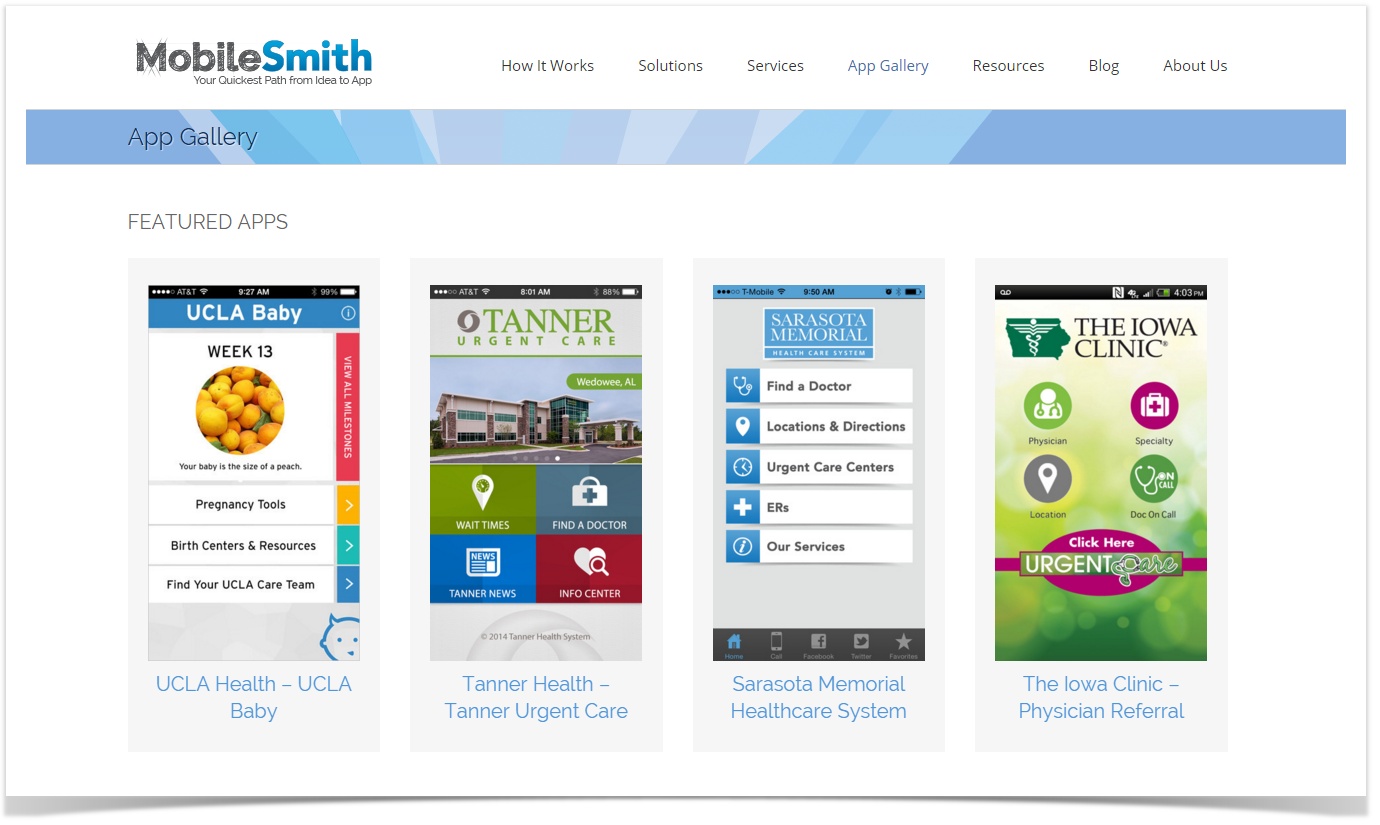
Private App Store
Create your own landing page with buttons, images and app descriptions for your private app store. From the email that MobileSmith sends, take the links for iPhone, iPad and Android and reference them in your buttons for your private audience to download.
Take a look at our website for inspiration on setting up a private store:
Related articles